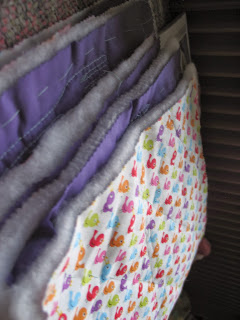
Quilted place
setting placemats – tutorial
First decide on the layout of your place settings. I used an A3 sized piece of paper and laid
out a plate, cup and cutlery and then drew around them. Do this in mirror image as well.
Choose your fabric.
Use a plain fabric for the place setting side, but you can use any
pattern on the other side. You’ll need
your A3 size of each, plus some wadding.
I made six, so needed 6 times this much.
Measure the perimeter as well, as you’ll need to buy bias binding. You’ll also want some co-ordinating thread
for the quilting, and some contrast thread for your place setting. Cut out the fabrics to the right size.
Baste your plain fabric to your wadding to hold it in
place. Draw over the design on your
mirror image layout with chalk. Then
press it face down on the plain fabric so that you have a chalk image the
correct way around. Use back-stitch to
hand sew your place-setting design.
Now baste the other piece of fabric on to the other side of
the wadding. Depending on your design
you can hand or machine quilt this. I
used a machine to do simple diamond shapes.
Trim the edges of your fabrics and wadding so that they all
line up. Pin your bias binding in place
and sew it on.
Trim all loose threads and pull all basting out.
Enjoy your very own personal quilted place setting
place-mat!


No comments:
Post a Comment